
Xilinx ZCU104 Setup
Published:
Blog Post #3
A tutorial for setting up ZCU104 for Vitis-AI
Step1:
Download board image
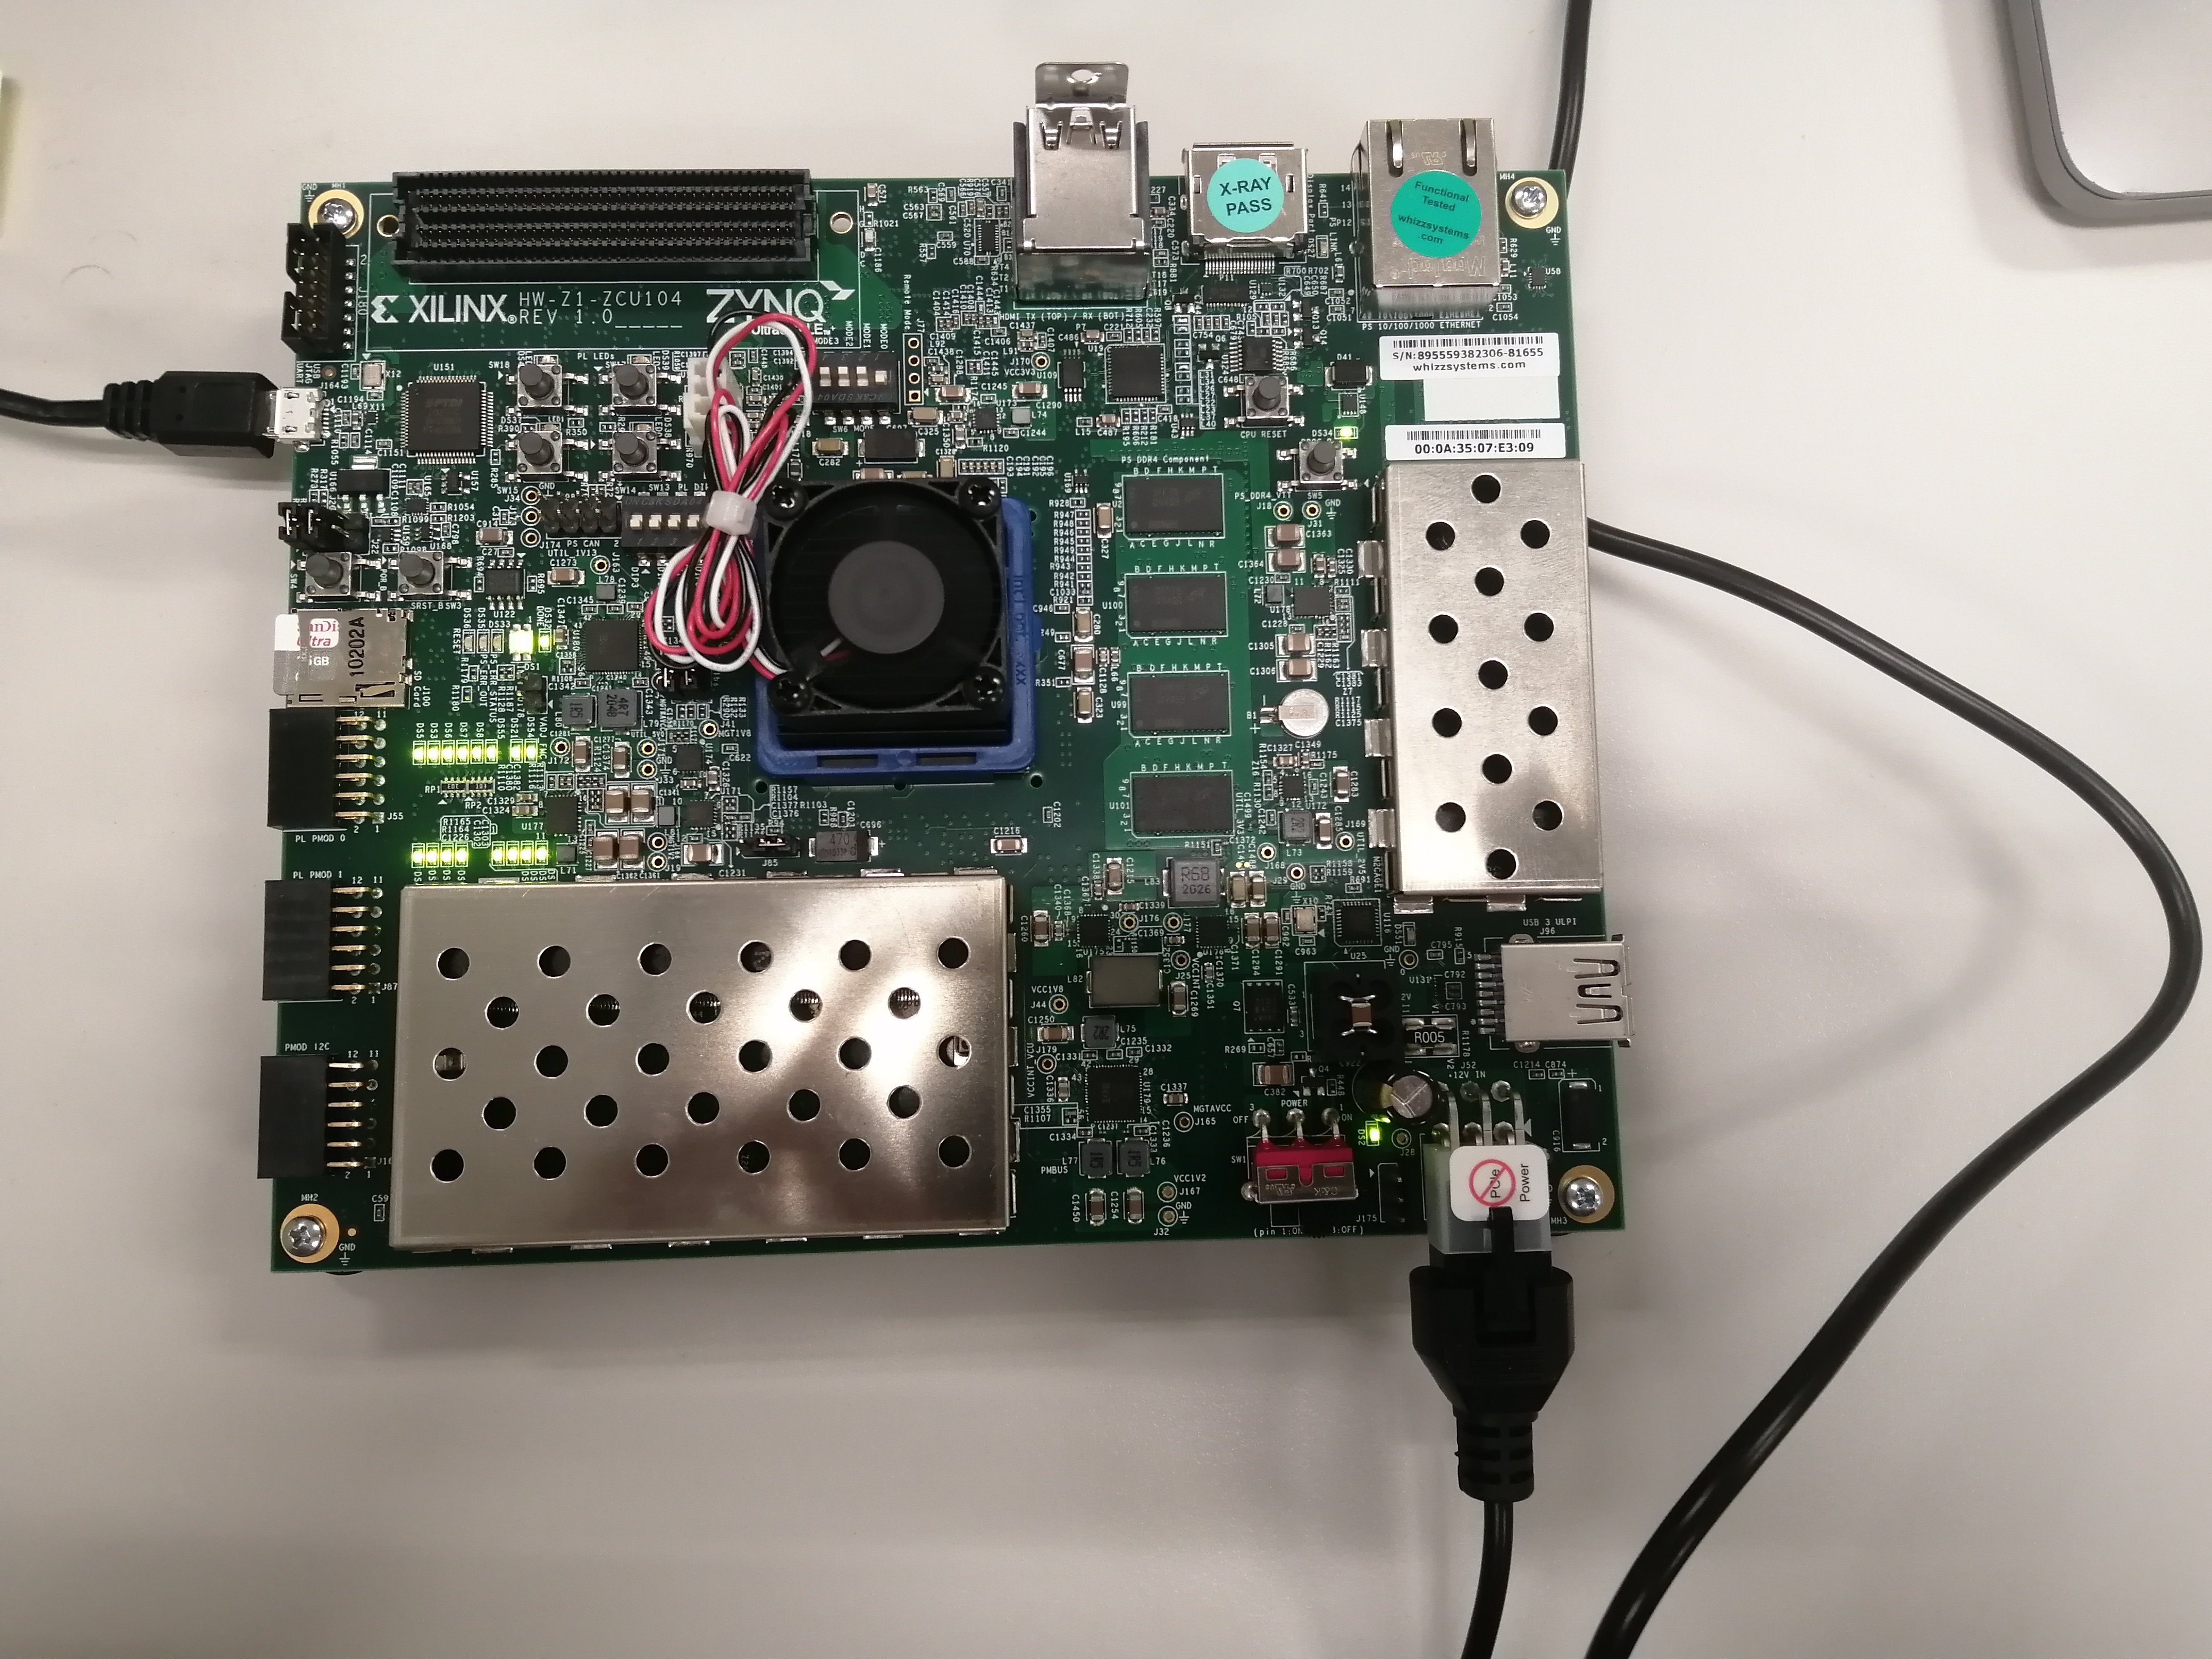
Go to Vitis AI User Guide (UG1414) and download the board image for ZCU104. You may have to login with your Xilinx account first. And remember to set the board to MicroSD card boot mode according to the figure from the User Guide.
Step2:
Burn the image to a MicroSD Card.
You may use Raspberry Pi Imager to burn the board image into the MicroSD Card. Remember to unzip the file to .img format before burning.
Step3:
Make the ./root folder writeable
After burning the board image to MicroSD Card, we have to make the root file in the card writeable. To do that, navigate to /home/root folder of the SD card in a PC, run
sudo chmod -R 777 root
After that you should be able to put your files in /home/root which is your home directory for your ZCU104.
Step4:
Install Minicom (similar to PuTTY from Window) so that we can communicate to the board via UART in Ubuntu. Open terminal in Linux and type in the following cmd
sudo apt-get install minicom
Step5:
Setup appropriate port.
sudo minicom -s
This will open the minicom configuration menu. In the configuration menu, navigate toSerial port setup and press Enter. Set the serial device to the appropriate port for your ZCU104 board. This can usually be found by checking the output of the dmesg command after connecting the board. It will typically be something like /dev/ttyUSB0 or /dev/ttyACM0.
For my case, it is in /dev/ttyUSB1
Set the baud rate to 115200.
Set the hardware flow control to “No”.
Press Enter to save the configuration and exit the menu.
Run the following command to start minicom:
sudo minicom
You should now be connected to the ZCU104 board via minicom.
Hope you enjoy this :)
Reference:
https://docs.xilinx.com/r/en-US/ug1414-vitis-ai/Setting-Up-the-Evaluation-Board